
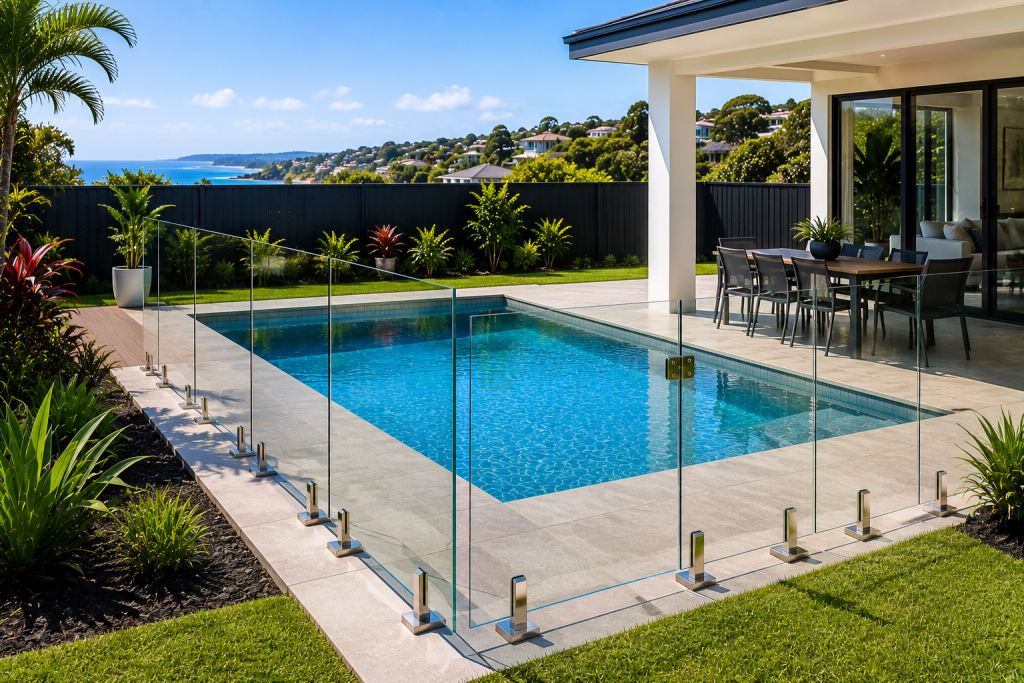
Installing a glass fence is one of the best ways to improve the safety, appearance, and value of your property. Whether you’re planning a frameless glass pool fence, a semi-frameless system, or a glass balustrade around your deck or balcony, proper preparation is essential for a smooth installation.
Many homeowners focus on choosing the right glass panels and hardware but overlook the steps required before installation begins. Preparing your property in advance helps prevent delays, reduces unexpected costs, and ensures the installation team can complete the project efficiently.
This complete checklist explains everything you should do before your glass fence installation, from site preparation to compliance checks.
Why Preparation Matters Before Installing a Glass Fence
Glass fencing is a precision product. Every panel is measured and installed to exact specifications, meaning the installation site must be ready before work begins.
Proper preparation helps:
- Reduce installation delays
- Avoid unexpected site issues
- Improve installation accuracy
- Protect surrounding landscaping
- Ensure compliance with Australian safety standards
- Create a cleaner and safer work environment
A little planning before installation can save significant time and money later.
Step 1: Confirm Your Fence Design
Before any installation work begins, finalise the design of your glass fencing system.
Consider:
- Frameless or semi-frameless glass
- Glass panel layout
- Gate location
- Entry and exit points
- Hardware finish
- Handrail requirements (if applicable)
If you’re installing pool fencing, ensure the design complies with NSW pool safety regulations.
Having a confirmed design prevents costly changes during installation.
Step 2: Check Property Boundaries
Before glass panels are measured, confirm the exact boundaries of your property.
This is particularly important if your fence:
- Runs close to neighbouring properties
- Connects to existing fencing
- Borders shared access areas
If necessary, arrange a property survey to avoid disputes after installation.
Step 3: Complete Any Major Landscaping First
Large landscaping projects should always be completed before glass fence installation.
Examples include:
- Retaining walls
- Deck construction
- Concrete pathways
- Pool surrounds
- Paving
- Drainage works
- Garden edging
Changing ground levels after installation may affect fence alignment or require additional modifications.
Step 4: Ensure the Ground Is Ready
Glass fence installers require a stable surface for accurate installation.
Depending on your project, this may include:
Concrete
Concrete should be:
- Fully cured
- Level
- Free from cracks
- Clean and dry
Fresh concrete should never be drilled until it has properly cured.
Timber Decking
Decking should be:
- Structurally sound
- Properly supported
- Free from movement
- Finished before installation
Loose boards or unstable framing may require reinforcement.
Tiles or Stone
Ensure tiled areas:
- Are securely bonded
- Free from loose sections
- Evenly installed
Damaged tiles should be repaired before installation begins.
Step 5: Check Site Access
Glass panels are heavy and require careful handling.
Installers need clear access to the work area.
Remove obstacles such as:
- Outdoor furniture
- Pots and planters
- BBQs
- Children’s toys
- Garden decorations
- Temporary fencing
If access is limited, discuss alternative arrangements with your installer before installation day.
Step 6: Trim Nearby Trees and Plants
Overgrown vegetation can interfere with installation.
Trim back:
- Tree branches
- Large shrubs
- Climbing plants
- Overhanging vines
This gives installers enough working space while preventing branches from rubbing against the glass after installation.
Step 7: Locate Underground Services
If your installation requires core drilling or footings, underground services should be identified beforehand.
These may include:
- Water pipes
- Gas lines
- Electrical cables
- Irrigation systems
- Stormwater drainage
Knowing their location helps prevent accidental damage during installation.
Step 8: Check Pool Compliance Requirements
If you’re installing a glass pool fence, preparation involves more than choosing attractive glass panels.
Ensure:
- Pool gates open correctly
- Self-closing mechanisms are planned
- Self-latching hardware is included
- Fence heights meet regulations
- Required clearances are maintained
Addressing compliance early reduces the risk of failed inspections later.
Step 9: Plan Gate Placement Carefully
Your gate is one of the most frequently used parts of the fence.
Choose a location that:
- Provides easy access
- Allows adequate opening space
- Avoids obstructions
- Meets safety regulations
Poor gate placement can reduce convenience and require expensive adjustments later.
Step 10: Protect Valuable Landscaping
Installation involves moving heavy glass panels and equipment around your property.
Protect:
- Delicate plants
- Garden beds
- Irrigation systems
- Decorative paving
- Outdoor lighting
Temporary protective coverings can minimise accidental damage.
Step 11: Secure Pets and Children
Installation areas should remain clear throughout the project.
Keep:
- Pets indoors
- Children away from the work area
- Gates closed where possible
This improves safety for both your family and the installation team.
Step 12: Arrange Vehicle Access
Installers often transport large glass panels using specialised vehicles.
Ensure:
- Driveways are accessible
- Vehicles can unload safely
- Nearby parking is available if required
Easy access speeds up installation and reduces handling risks.
Step 13: Discuss Installation Timing
Weather can influence outdoor installations.
Before your installation date, discuss:
- Expected duration
- Weather contingencies
- Site access times
- Any special property requirements
Clear communication helps avoid unnecessary delays.
Step 14: Understand Maintenance Requirements
Preparing for installation also means understanding how to maintain your new glass fence.
Ask your installer about:
- Recommended cleaning products
- Cleaning frequency
- Hardware maintenance
- Warranty requirements
- Inspection intervals
Good maintenance helps maximise the lifespan of your investment.
Glass Fence Installation Checklist
Use this checklist before installation day.
Planning
✔ Finalise fence design
✔ Confirm glass type
✔ Select hardware finish
✔ Approve measurements
✔ Confirm gate location
Site Preparation
✔ Complete landscaping
✔ Finish paving or decking
✔ Repair damaged surfaces
✔ Remove outdoor furniture
✔ Trim vegetation
Safety
✔ Locate underground services
✔ Secure pets
✔ Keep children away
✔ Ensure installer access
✔ Protect garden features
Compliance
✔ Confirm pool fence requirements
✔ Check boundary lines
✔ Review council requirements if applicable
✔ Verify gate compliance
Common Mistakes to Avoid
Many installation delays happen because homeowners overlook simple preparation steps.
Avoid these common mistakes:
- Installing before landscaping is complete
- Forgetting to check property boundaries
- Leaving furniture in the work area
- Ignoring drainage issues
- Choosing incorrect gate locations
- Using low-quality hardware
- Delaying compliance planning
Planning ahead prevents unnecessary complications.
Why Professional Installation Matters
Glass fencing requires precision.
Professional installers ensure:
- Accurate measurements
- Secure fixings
- Proper alignment
- Safe installation
- Compliance with Australian Standards
- Long-lasting performance
Experienced installers also identify site challenges before installation begins, helping avoid costly surprises.
Final Thoughts
Preparing your property before glass fence installation is just as important as choosing the right glass system. Completing landscaping, checking site access, confirming compliance, and ensuring stable installation surfaces all contribute to a smoother installation process and a better final result.
Whether you’re installing a frameless glass pool fence, a semi-frameless system, or a modern glass balustrade, taking the time to prepare your property helps protect your investment and ensures your new fence looks and performs exactly as intended for years to come.